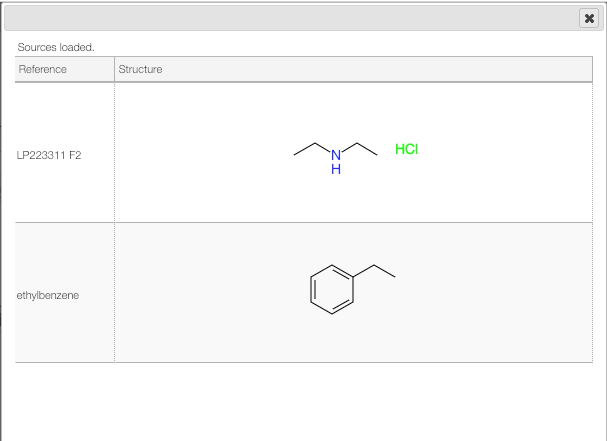
Create and edit a sample
You will see several modules covering the canvas and a few buttons. The buttons are there to Save your sample, to display this Help, and to generate a Report. The modules allow you to edit your sample’s data, to upload your spectra, and to display your spectra and other non-editable sample attributes.
Sample code: The sample’s unique identifier, defined at creation (i.e. CAS number). Non-editable.
Creation date: The sample’s creation date. Non-editable.
Modif. date: The date of the last modification to the sample’s data. Non-editable.
Description: A brief description of the sample. Editable.
Structure editor: Edit the structure associated with the sample. If you are using ChemDraw you may ‘copy as -> molfile’, go over the structure editor and press
CTRL+ V.Physical: Read and edit the physical constants associated with the sample: boiling point (bp), melting point (mp), density and refractive index (nd).
MF and mw: Molecular formula and molecular weight associated with the sample. Editable.
Attachments: A list of all files attached (e.g. JCAMP-DX files).
Safety
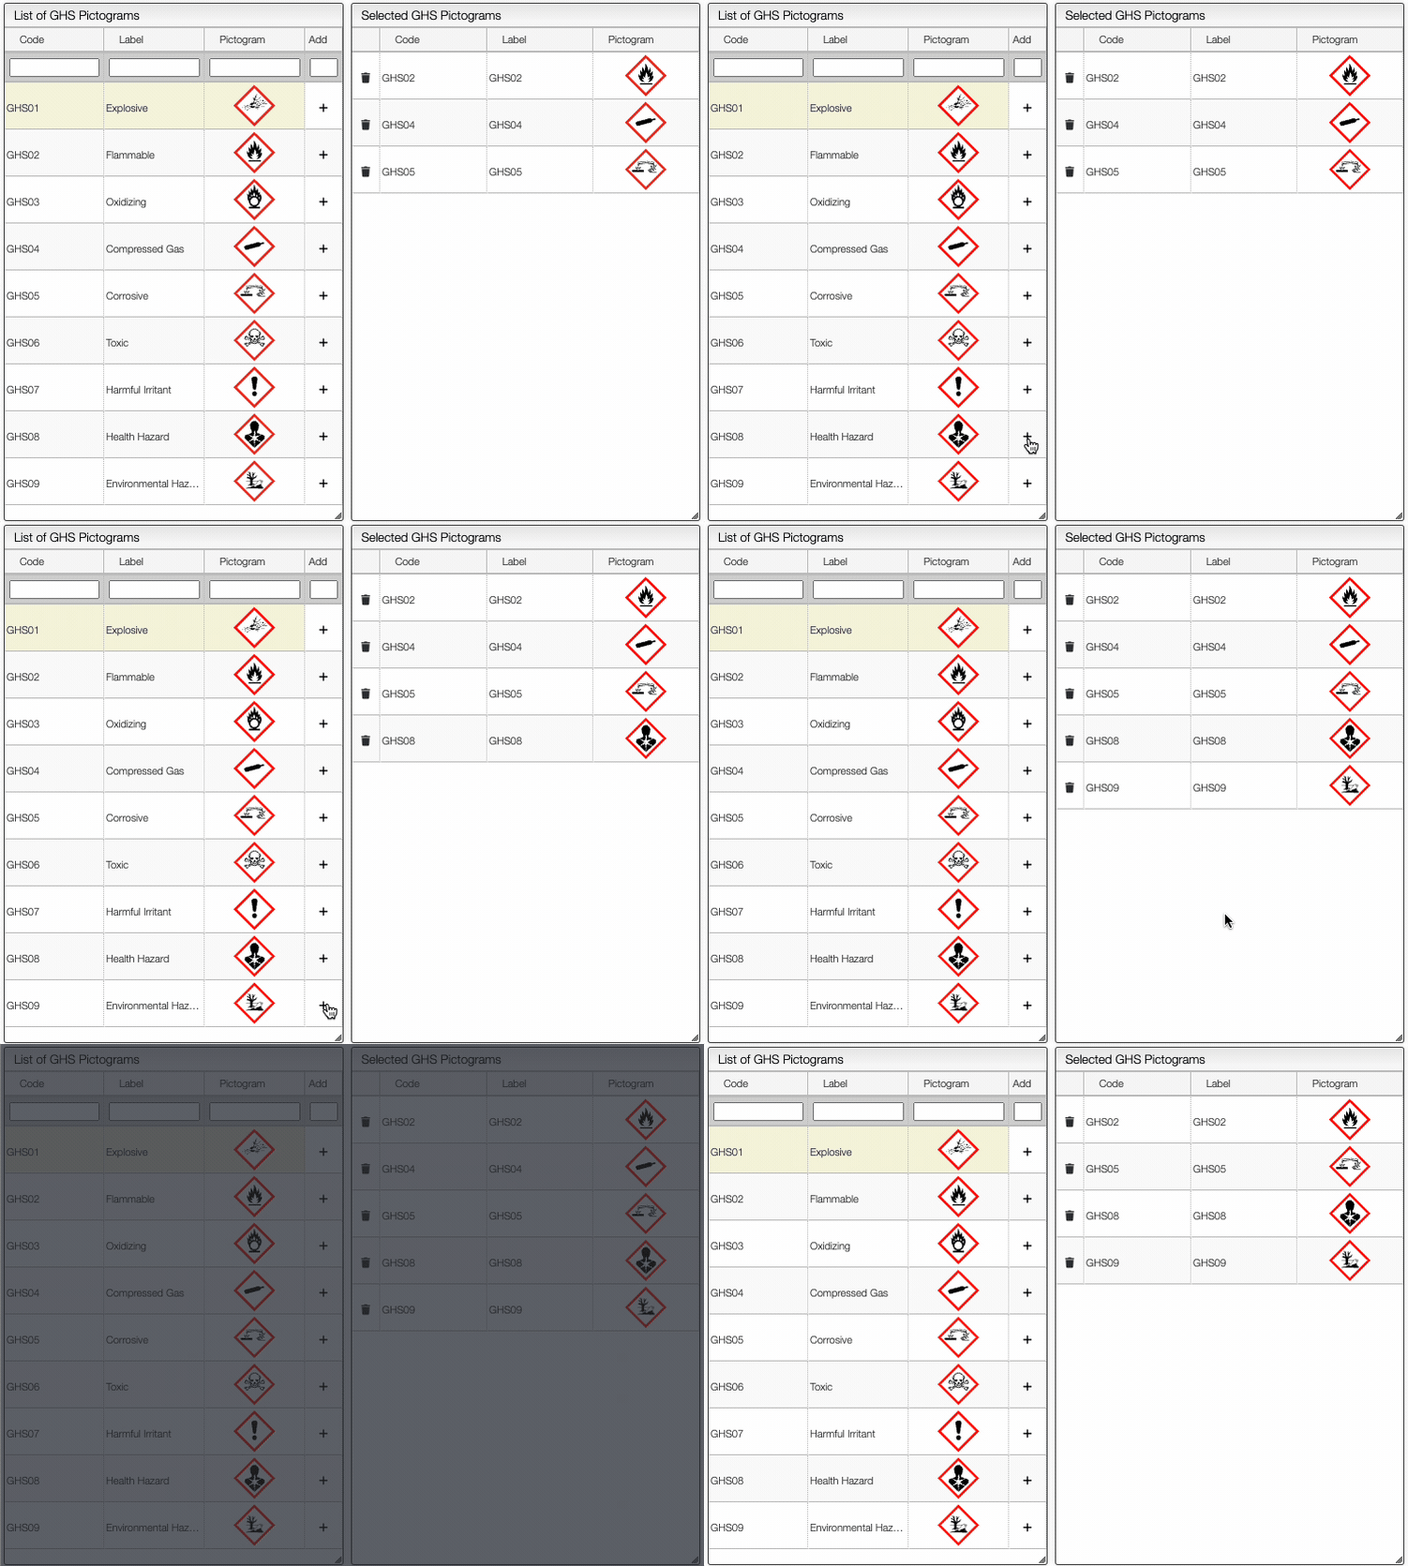
The Safety button allows you to define the safety information associated with the sample. It is possible to add manually the GHS Pictograms, as shown below.
On the right of the window, you can see the list of GHS Hazard Statements as well as the GHS Precautionary Statements. You can add or delete them by clicking on the corresponding buttons. You can also search by the code (e.g. H302) or by the description. The process of adding GHS statements is shown below.
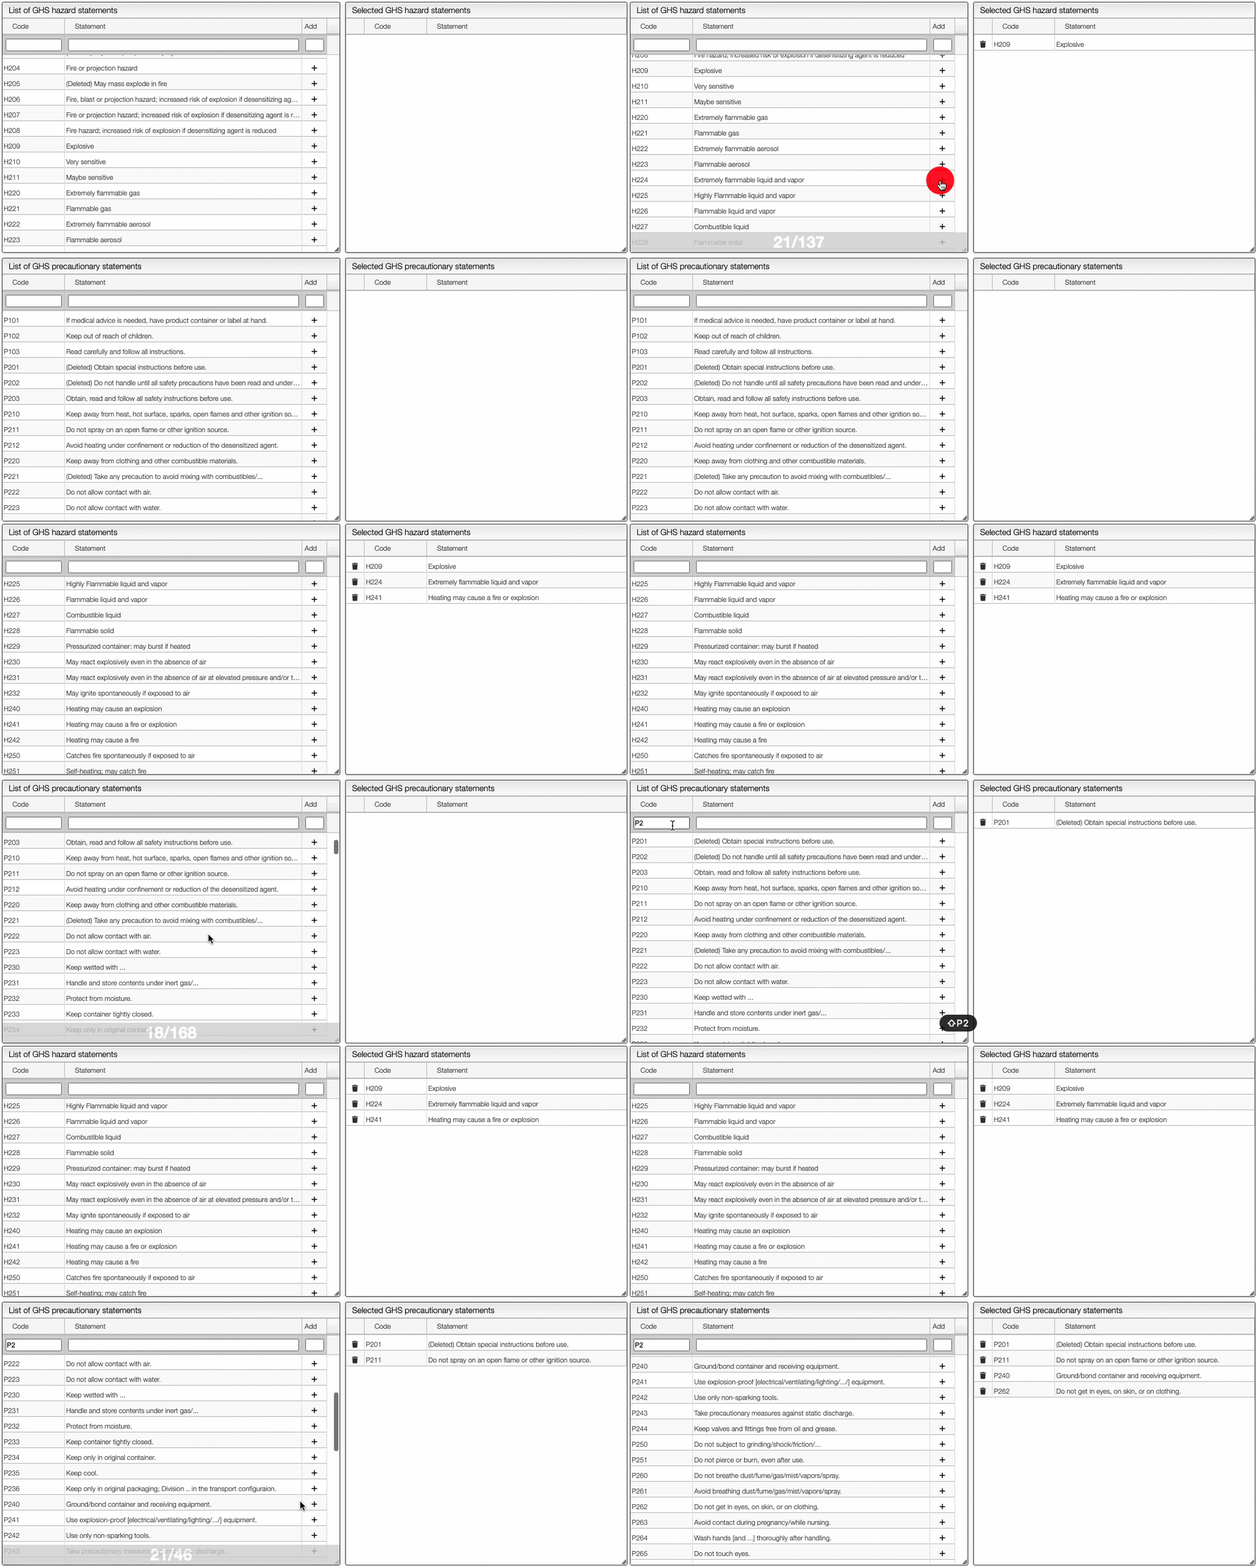
Once you have added all the necessary GHS pictograms, hazard and precautionary statements, you can save the information by clicking on the green Save data button.
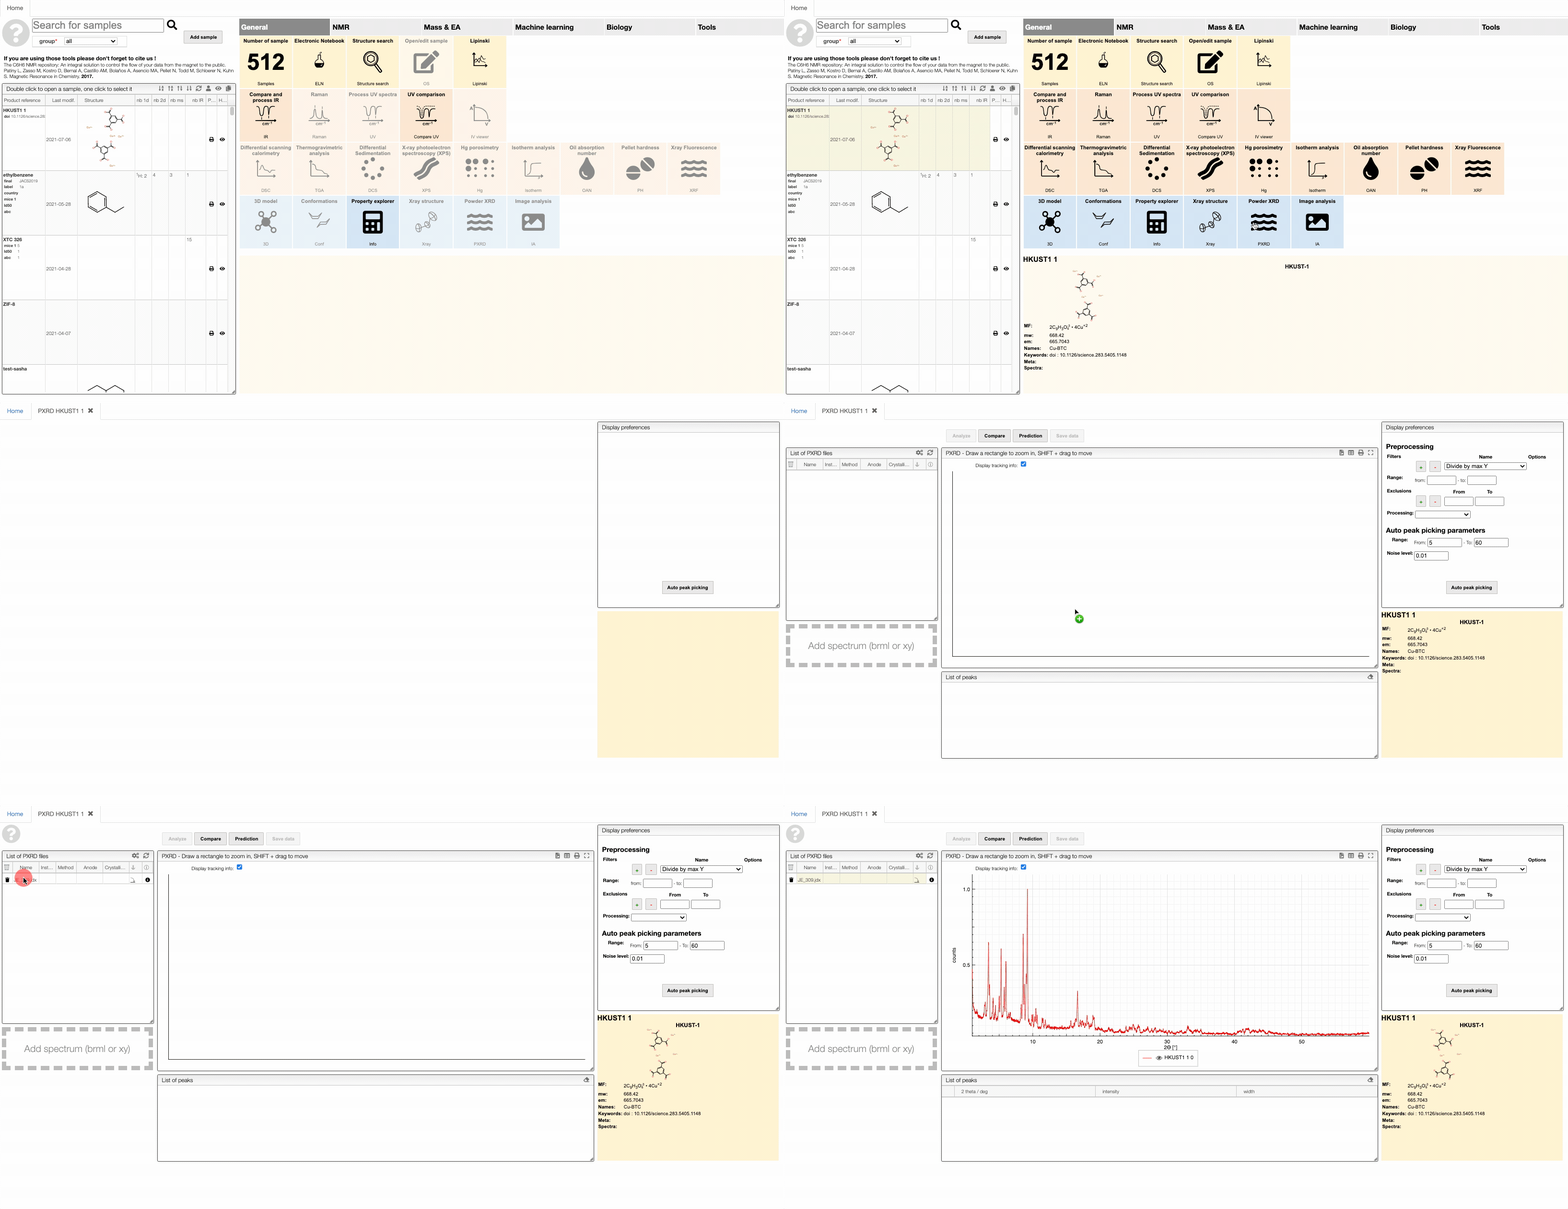
To upload spectra via drag and drop, use the application specific view. Those views are design to automatically handle the conversion into a standard format.
That is, if you want to upload a PXRD attachment to your sample you need to open the PXRD view.
The editor can explode peptide or nucleic acid sequences.
Explode nucleic and peptidic sequences
Most of the time you enter a peptidic or nucleic sequence as one letters code.
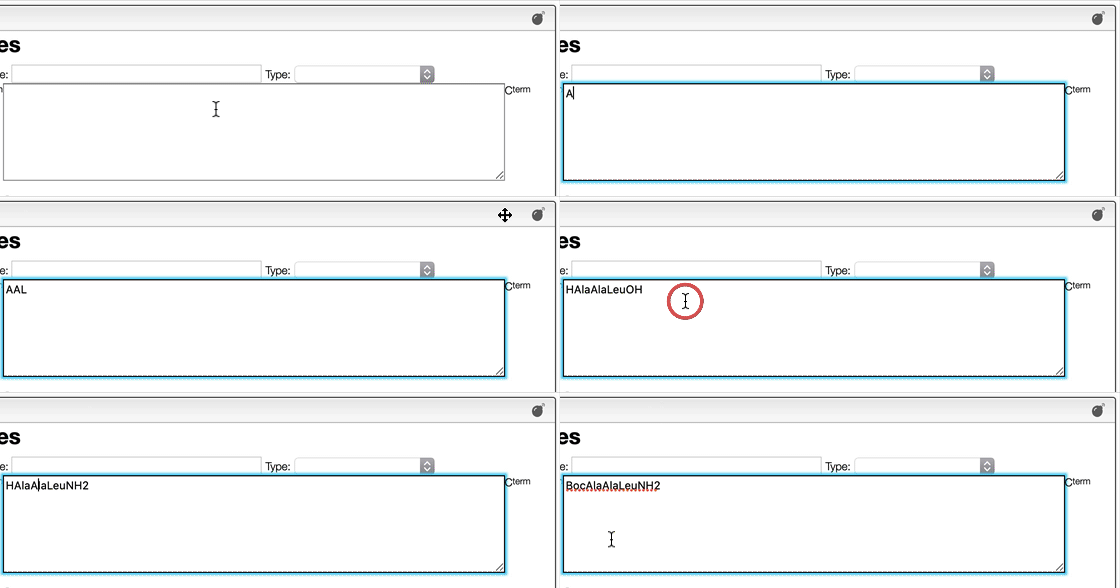
However, it may happen that you have the terminal chain modified like in the case of a small tripeptide AAL that would have on the N-term a Boc and on the C-term a NH2.
In order to enter correctly you should first enter the sequence AAL and then explode the sequence. You may then change the N-term and C-term.
It can be useful to denote to have special bond types between metal and ligands in metal complexes. Our editor can deal with that.
Drawing metal complexes
The chemical structure editor (openchemlib) allows drawing coordinative covalent bonds. In order to draw a 'zero order' bond you need to first draw a single bond between an atom and a metal. With the single bond drawing tool selected you can then click on the bond couple of times in order to get the dotted bond.
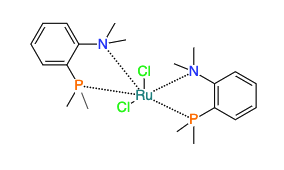
The molecular formula will be calculated automatically, and we consider, for this example, 3 different molecules.
Often it is more convenient to denote protective groups with Boc or amino acids with their three-letter code. Our editor understands this.
Molecular formula: using groups
While the molecular formula is calculated automatically from the chemical structure it is sometimes useful to directly edit the molecular formula.
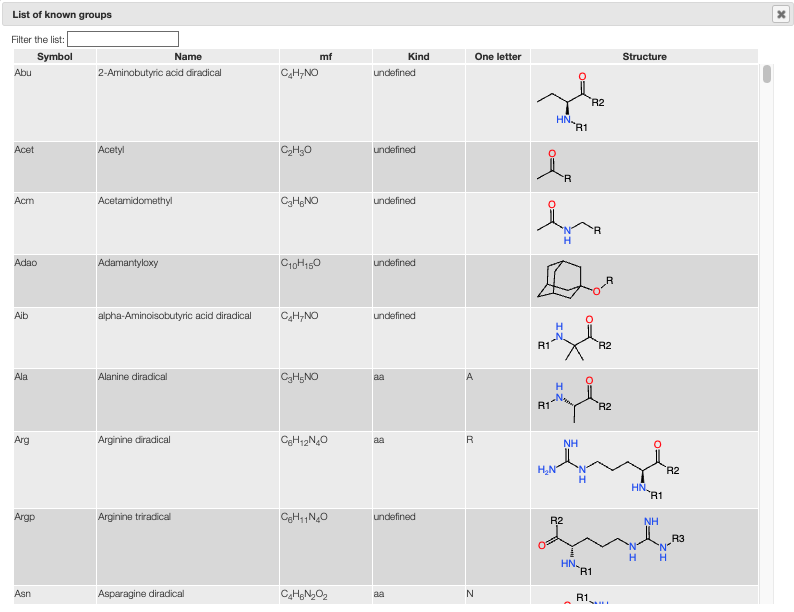
In the editor you are allowed to use groups like Ala, Me, ...
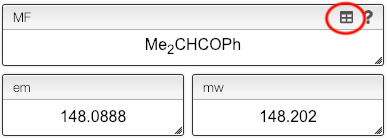
The full list of allowed groups can be seen by clicking on the little grid icon.
You can also directly edit the molecular formula, for example to indicate salts.
Information about molecular formula
While the molecular formula is calculated automatically from the chemical structure it is sometimes useful to directly edit the molecular formula.
When you enter the molecular formula you may use the '.' to separate salt and also add charges in each part of the molecule.
You will see an information about the molecular weight and monoisotopic mass of all
the parts of the molecule in the Molecular formula information box
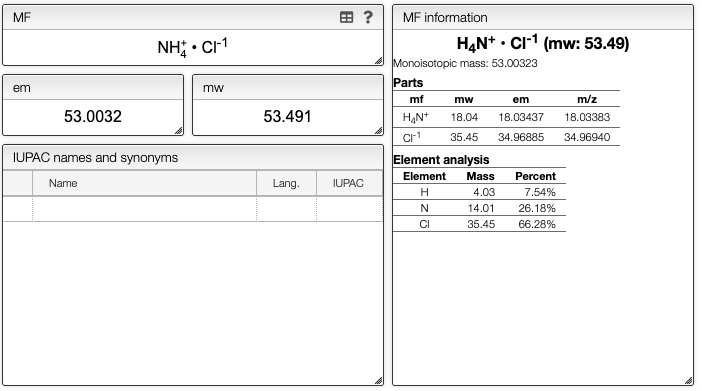
This can also be useful to indicate isotopes.
Molecular formula: isotopes
While the molecular formula is calculated automatically from the chemical structure it is sometimes useful to directly edit the molecular formula.
Isotopes have to be entered between square brackets like [13C]. There is one exception, D that is a synonym of [2H].
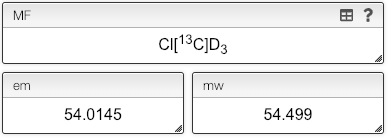
There is also the possibility to enter non-natural isotopic ratio. In this case the ratio between all the stable isotopes will be placed between curly brackets and separated by a comma. This is, if you have a molecule with 10 carbons having 20% [12C] and 80% [13C] you will enter C{20,80}10.
You can also use parenthesis in your molecular formula.
Molecular formula: parenthesis
While the molecular formula is calculated automatically from the chemical structure it is sometimes useful to directly edit the molecular formula.
The mass editor allows using as many parenthesis levels as you want.
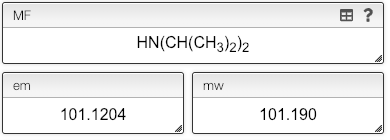
You might need to deal with modifications at the terminal positions of your peptides.
Deal with modified peptide or nucleotide sequences
Peptides, proteins and nucleotides may contain non-natural amino acids or nucleic bases. They may also have chain modifications at the terminal positions. This could be the result of post-translational modifications (PTM), synthesis using non-natural amino acids, etc.
In order to deal with those cases the system allows entering sequences using one-letter code and all the modifications in parentheses either at a terminal position or directly after the residue.
Everything that is in parentheses will stay untouched and if a terminal position contains a parenthesis it will not be modified.
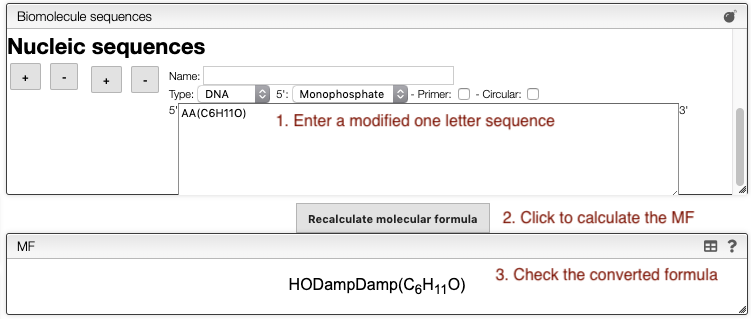
Examples:
- Peptidic sequence
- AAA(NH2) = HAlaAlaAlaNH2
- (Me)C(S-1Se)(NH2) = Selenocysteine with N-terminal methylated and C-terminal amide
- Nucleic sequence
- AA(C6H11O) = AA(C6H11O) : A dinucleotide on a glucose
It can be handy to print out an overview table of all information about a sample, including a barcode.
Print report and get barcode
It is possible to print the report from any tab. You should simply click on the Print icon that is present in the description.
This will produce a report that contains barcode that represent this specific sample.
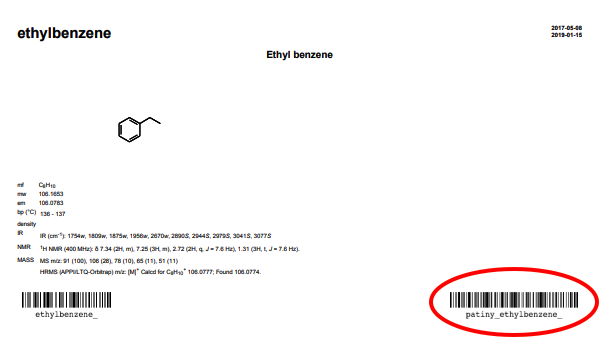
You might need to give some colleague access to your sample, for example, to upload a characterization.
Sample rights
This view allows to manage the rights of samples:
- add a specific user (email address)
- add a specific group
- remove a specific user (email address)
- remove a specific group
In order to proceed you should first select a list of samples to which the modification applies.
There are 2 ways to select sample. The first is by clicking on the 'plus' symbol present on the right of the sample line. The second is by selecting some samples from the list and then clicking on the 'plus' symbol present on the top of the window.
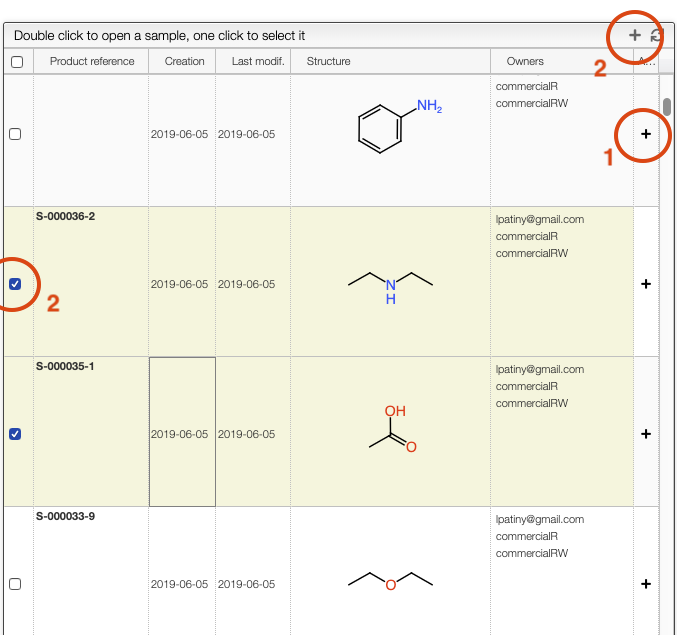
Once sample have been selected you can either Add or Delete a right by clicking on the corresponding button and entering an owner.
An owner is either:
- a specific user (the email address of the user) and adding a specific user will provide READ and WRITE access to the sample
- a specific group as defined by the administrators and managed by 'ROC'. You should contact your administrator to either create a new group or add / remove users from the group. A group may have read/write access or read only access.
Our editor remembers the last 20 structures and allows you to start a new molecule drawing from a previous one.
Reload previous structures in the molecule editor
The structure editor remembers the last 20 edited structures. If you want to start your new molecule from a previous one you may simply click on the history icon.
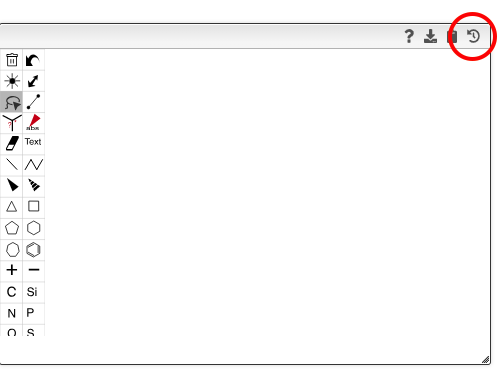
A list showing the last edited structures will appear, and you should just click on one of them to use it as a template.
