Deploying the ELN
System requirements
To host an instance of the ELN no special hardware is needed. In principle, an old computer with 8 GB of RAM and an old CPU can be used. The system itself will not need a lot of space of the hard drive and the required hard drive space will depend on the amount of data you want to store (to get started, even 32 GB are enough to store >6,000 5 MB files, and most chemical files are smaller).
We recommend that you use CentOS (or AlmaLinux) or Ubuntu as operating system.
Installing dependencies
1. Install docker and docker-compose and some dependencies
On Red Hat Linux/CentOS 8 you need to run the following commands:
dnf update -y
dnf install epel-release -y
dnf install git -y
Please check that the firewall accepts external connection on port 80 or 443. Adding those rules should be done BEFORE starting docker!
If firewalld is active you may have to open ports. On CentOS:
firewall-cmd --permanent --zone=public --add-service=https
firewall-cmd --permanent --zone=public --add-service=http
firewall-cmd --reload
Install docker and docker-compose. If you are using CentOS or Redhat please check the tip here after.
dnf config-manager --add-repo=https://download.docker.com/linux/centos/docker-ce.repo
dnf install docker-ce –allowerasing
curl -L "https://github.com/docker/compose/releases/download/1.27.4/docker-compose-$(uname -s)-$(uname -m)" -o /usr/local/bin/docker-compose
In Ubuntu you can use the apt package manager to install dependencies.
You can use similar commands or installers on other operating systems.
If you are using AlmaLinux (a maintained alternative to CentOS that is 1:1 binary compatible with RHEL®) you should use podman and podman-compose.
dnf install podman dnsmasq podman-plugins python39 -y
pip3 install podman-compose
systemctl start podman
systemctl enable podman
and in vi /root/.bashrc
alias docker='podman'
alias docker-compose='podman-compose'
2. Optional configurations
vi /etc/selinux/config

and set SELINUX=disabled
Please don't forget that you need to reboot the computer if you are changing this configuration.
- If you are behind a corporate proxy you can follow the guide to configure Docker to use the proxy
Getting the ELN code and running it
1. Start docker daemon if you are not using podman
systemctl start docker
systemctl enable docker
2. Clone this repo
We recommend that you run it from /usr/local/docker, but this is not crucial for this system.
mkdir /usr/local/docker
cd /usr/local/docker
curl -L https://github.com/cheminfo/roc-eln-docker/archive/master.tar.gz | tar xz
mv roc-eln-docker-master roc-eln-docker
cd roc-eln-docker
3. Edit configuration
cp .env.example .env- Adjust the options in
.env. Mandatory configuration options have the valueREPLACEME - Optional: edit
flavor-builder-config.jsonto configure home page - If LDAP configuration is needed, edit
rest-on-couch/home/ldap.js.
You might want to use the nginx proxy directly without additional Apache or Nginx server. In this case, you'll need to set NGINX_PORT to 80 (HTTP) or 443 (HTTPS), modify the docker compose to something like
services:
  nginx-proxy:
    image: docker.io/nginx:1.14-alpine
    ports:
      - "${NGINX_PORT}:80" # or  "${NGINX_PORT}:443"
The default docker-compose.yml configuration does not expose the nginx port to the world by specifying 127.0.0.1. This should be removed if we want to allow direct connection to nginx.
and the nginx configuration to read the SSL certificates in case you use SSL.
If you do not make these changes, you'll need to set up an Apache or Nginx server on our system. This is configuration is preferable in case you have more than one service running on your server.
Once you updated the configuration, you can run
docker-compose up -d
You should not use the docker instruction because it is not aware of dependencies, and it could lead to unexpected results. Please always use docker-compose instead.
In order to check all the running docker images: docker-compose ps. To restart a specific image: docker-compose restart rest-on-couch
Testing locally
To test the installation locally (e.g., on your MacBook) you also only need to install docker-compose. You might use the following setting for some of the environment variables
# Local port from which the application will be served
NGINX_PORT=4444

# Access to CouchDB admin interface. This port shouldn't be accessible from everywhere
COUCHDB_PORT=4445

# Domain name(s) that the cookie will be bound to
# Example: server.example.com
REST_ON_COUCH_SESSION_DOMAIN=127.0.0.1

# Same as REST_ON_COUCH_SESSION_DOMAIN, only with http:// or https://
# Multiple origins can be specified, separated by a comma
# Example: https://server1.example.com,https://server2.example.com
REST_ON_COUCH_ORIGINS=http://127.0.0.1
Setting up an Apache server
Under RedHat/CentOs run
yum install httpd -y
systemctl enable httpd
then, create /etc/httpd/conf.d/eln.conf with the following content
<VirtualHost *:80>
    ServerAdmin     a@b.com
    ServerName      eln.myinstitution.org

    SetEnvIf Origin "^(.*)$" AccessControlAllowOrigin=$0
    Header set Access-Control-Allow-Origin %{AccessControlAllowOrigin}e env=AccessControlAllowOrigin
    Header set Vary Origin
    Header set Access-Control-Expose-Headers "ETag, Content-Type, Access-Control-Allow-Headers, Authorization, X-Requested-With"

    AllowEncodedSlashes NoDecode
    ProxyPass / http://localhost:4444/ nocanon
    ProxyPassReverse / http://localhost:4444/
</VirtualHost>
In case you want to use SSL, you can listen on port 443 and add your SSL certificates. To check your configuration, you can use apachectl configtest
You can start the server with systemctl start httpd.
Firewall/iptables
If you did not already install iptables, you can do it with
yum install iptables-services -y
systemctl start iptables
systemctl enable iptables
to allow HTTP on port 80 add the following rule to /etc/sysconfig/iptables
-A INPUT -p tcp --dport 80 -m state --state NEW,ESTABLISHED -j ACCEPT
Note that docker will install new chains in iptables. This means you may not restart iptables once docker is started! If you really have to restart iptables service then you will have also to restart docker and docker-compose.
Groups
Typically, you will want to set up groups in the database to easily manage access to documents. You can do so via the roc/ endpoint of your deployment.
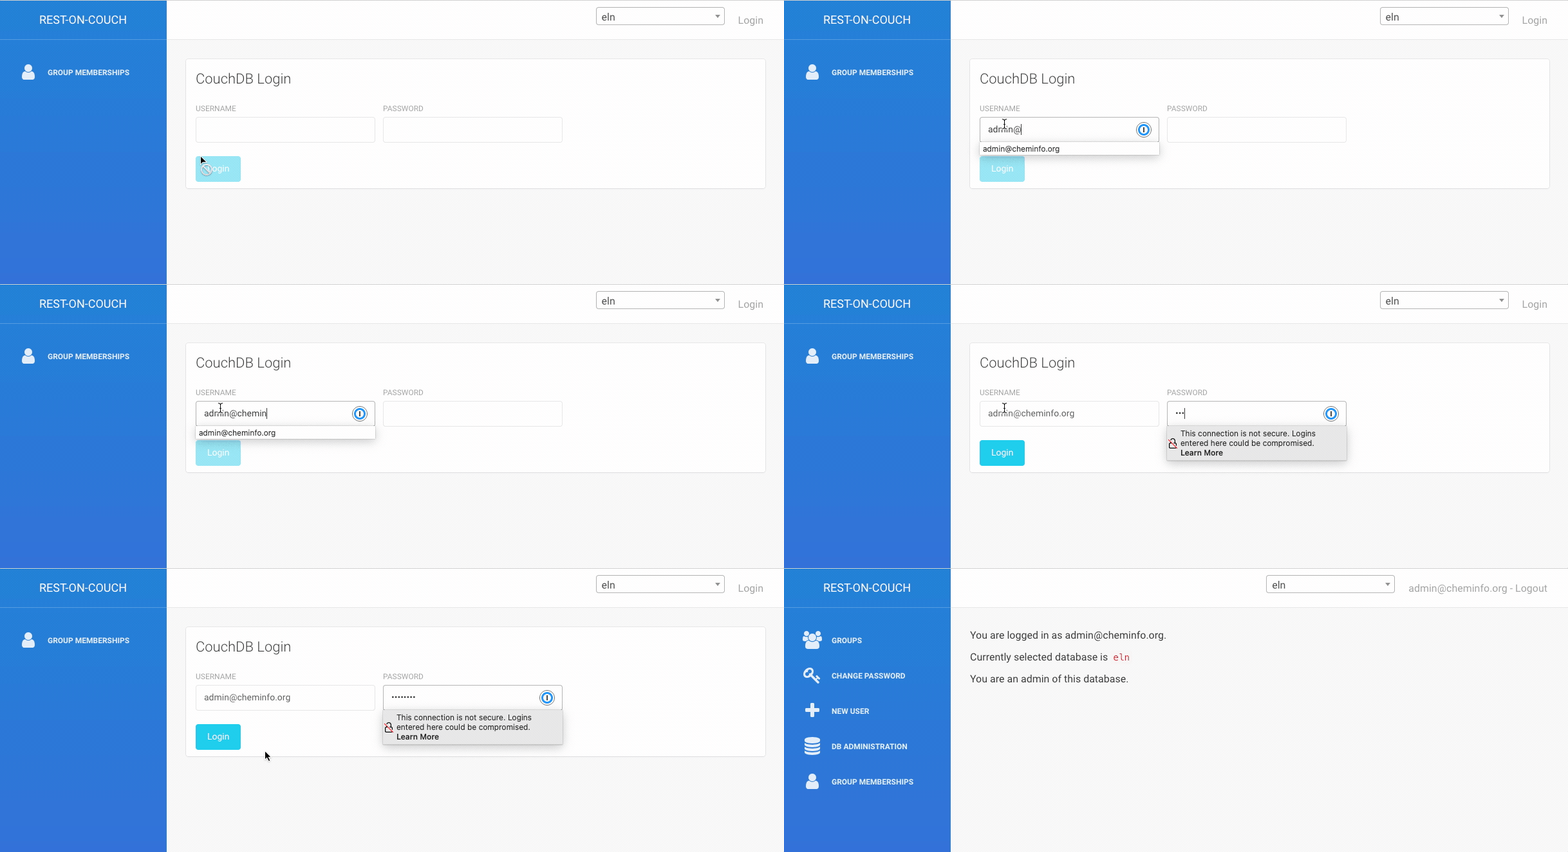
For this, log in as admin@cheminfo.org and select the "ELN" database.

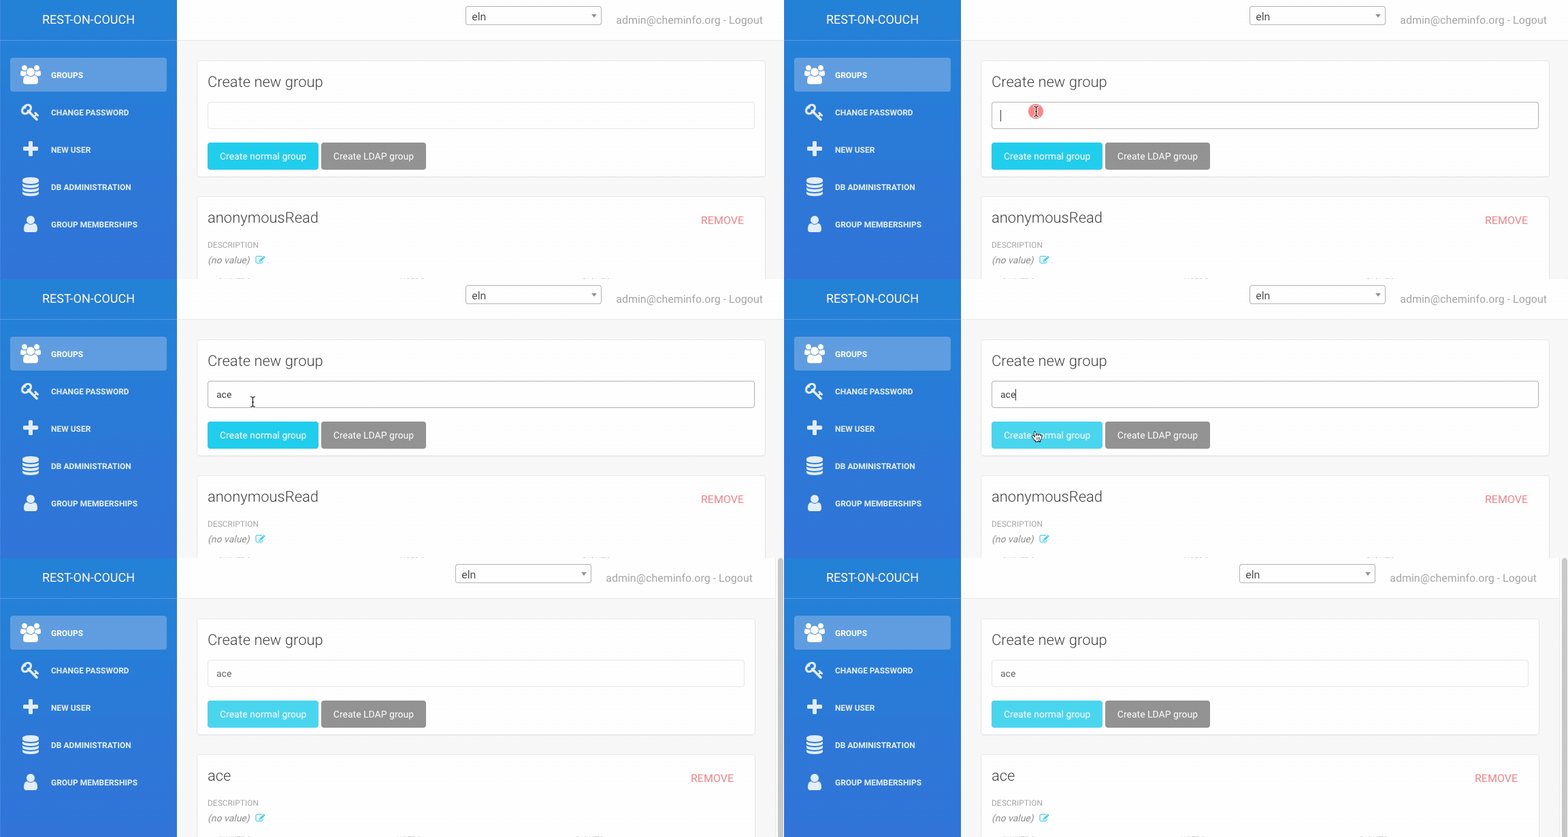
In the "Groups" section you can then administer groups. To create a group, you only have to enter the name of the group.

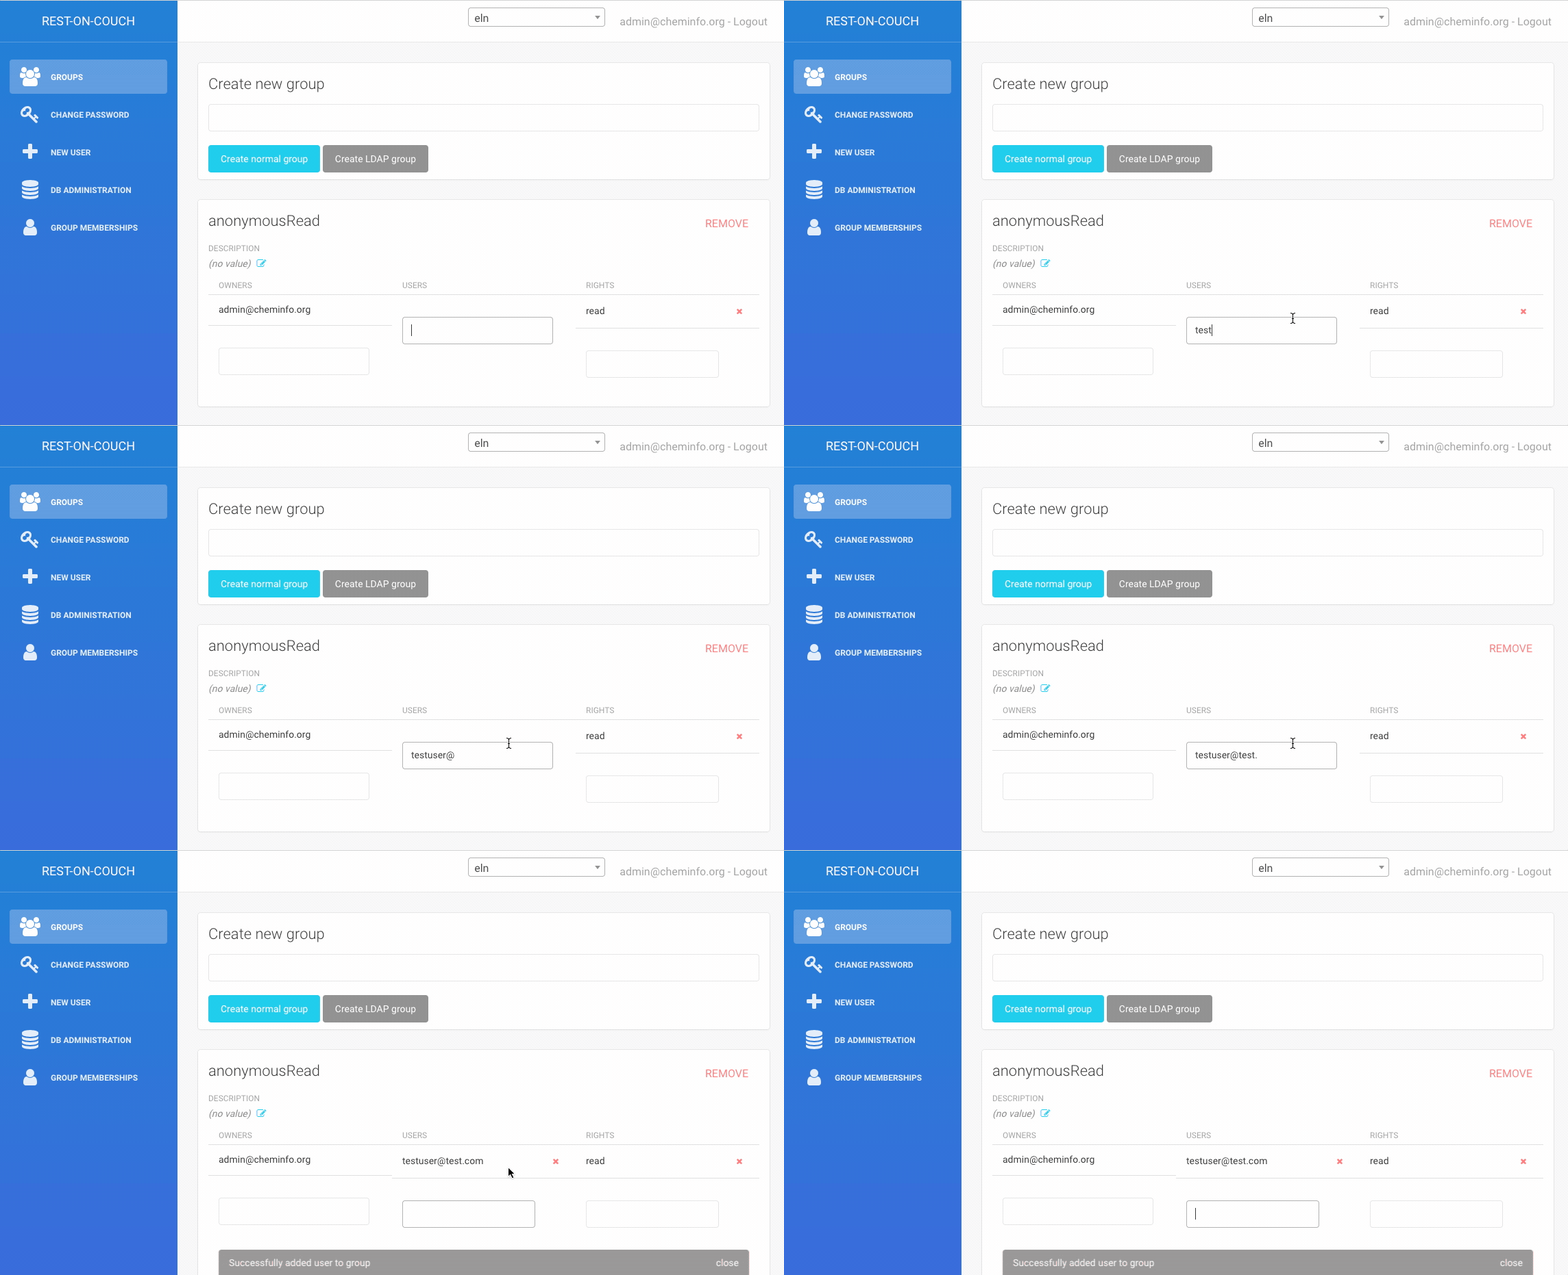
Once you created a group, you can add users and owners by adding the usernames (email addresses) and specifying the rights (e.g., read, write)

Creating user accounts
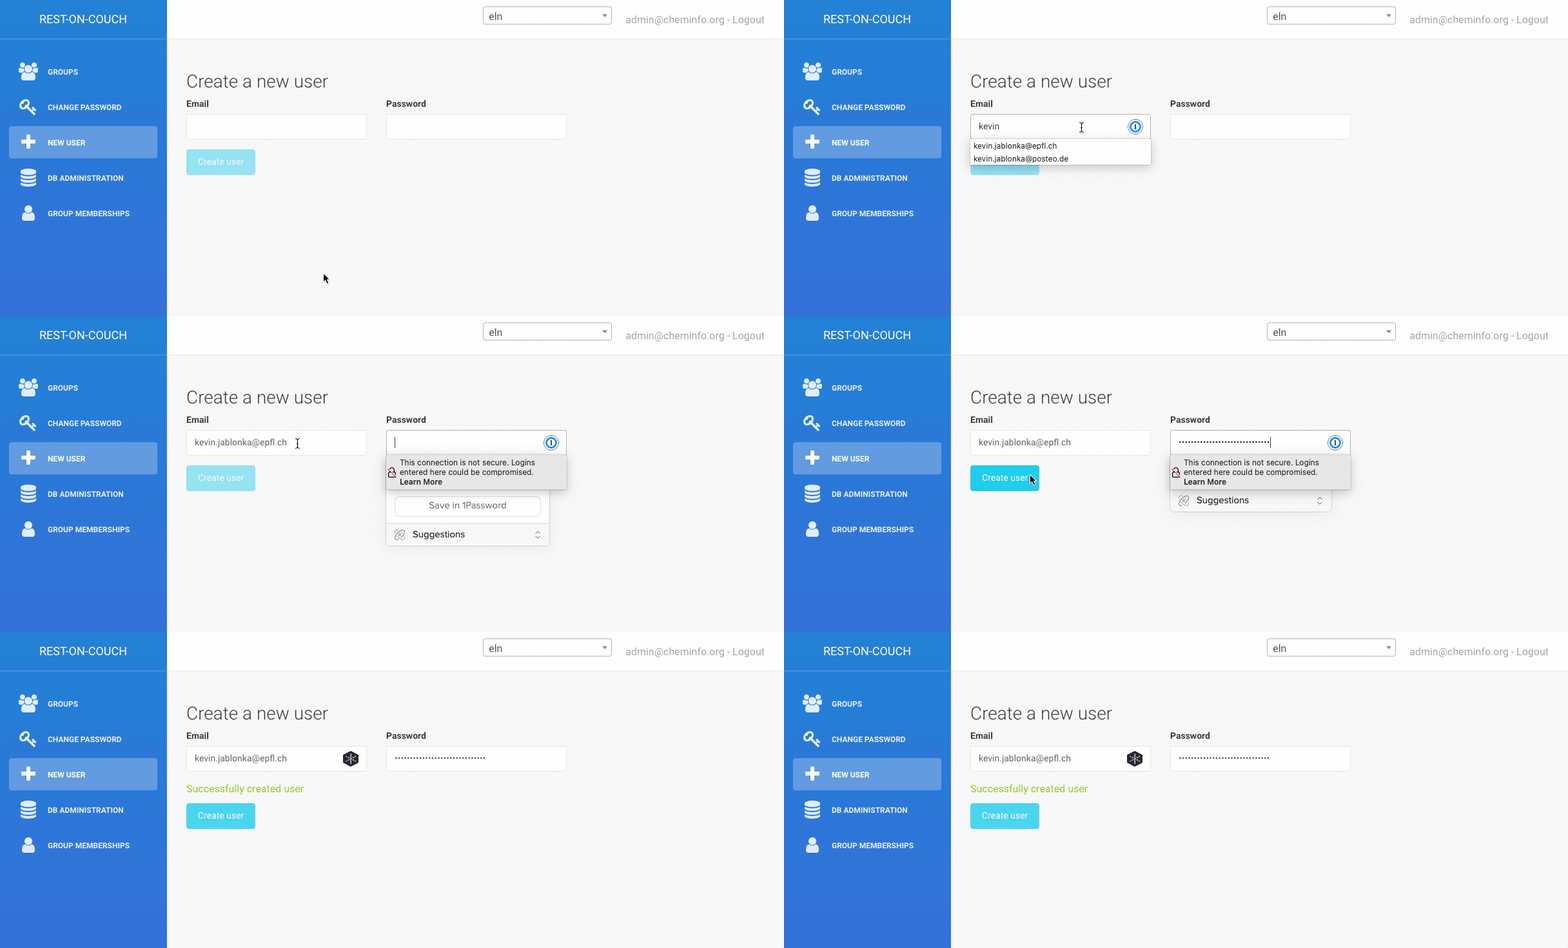
In case you do not use the LDAP or Google authentication, you will need to create user accounts. To do so, you can use the frontend at the roc/ endpoint. If you want to create many users at once, you might want to use a script that inserts the documents into the _users database. In both approaches, you will set some initial password which users can change themselves at the roc/ endpoint.

User forgot password
CouchDB authentication
If a user forgot a password, the admin can provide the users with a new password by updating the document of the user in the couchdb _users database (for example, this can conveniently be done from the Fauxton interface at the _utils endpoint of your database URL). By inserting the field password with a new password in the document, the password will be updated, and the user can change the password from the roc/ endpoint.
Google or LDAP authentication
In case the account uses Google or LDAP authentication you cannot help the user other than by referring to the password reset procedure of the authentication provider (LDAP, Google).